Starting with Apple Silicon, the installation process for our SuperDrive Driver has become a little more complex. Ahead are steps to help successfully install this driver.
Step 1 – Allow the SuperDrive Driver to be Installed
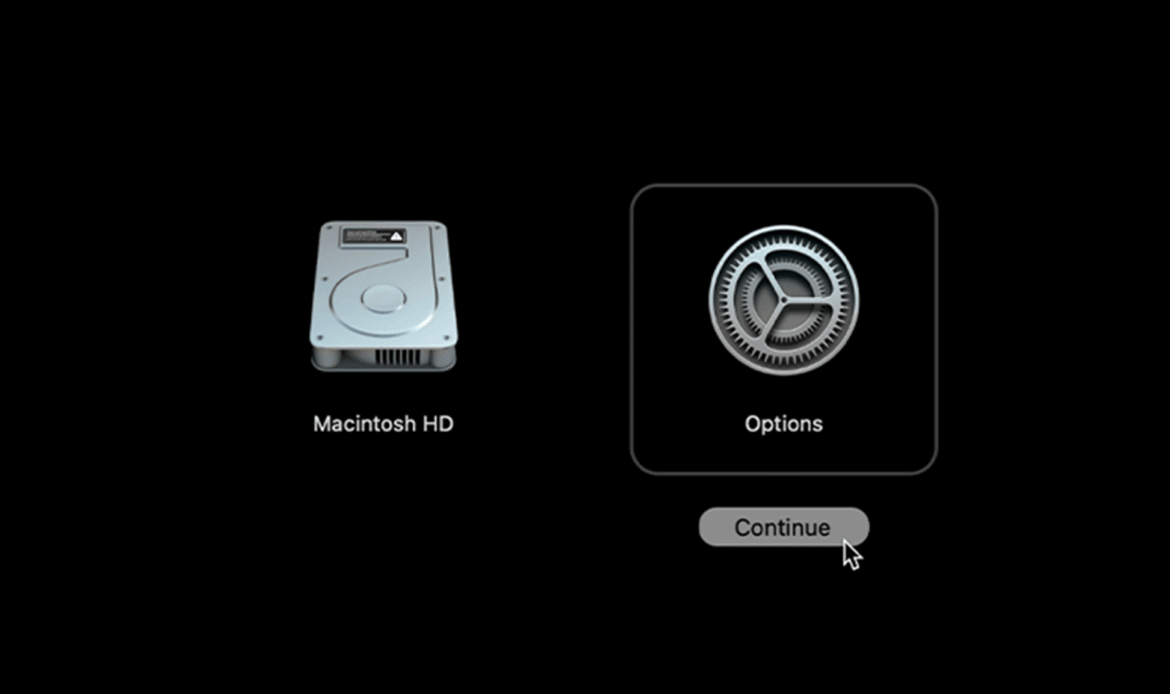
First, fully power off your Apple computer. Once powered off, press and hold the power button on your computer until the Recovery Mode screen appears, pictured below.
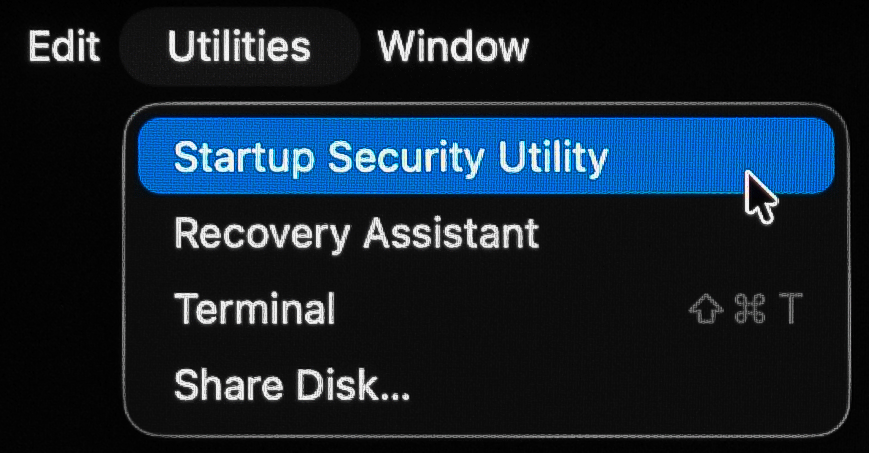
At this Recovery Mode screen, select “Options”. At the Apps Menu in the top left corner, select “Utilities” and then “Startup Security Utility”.
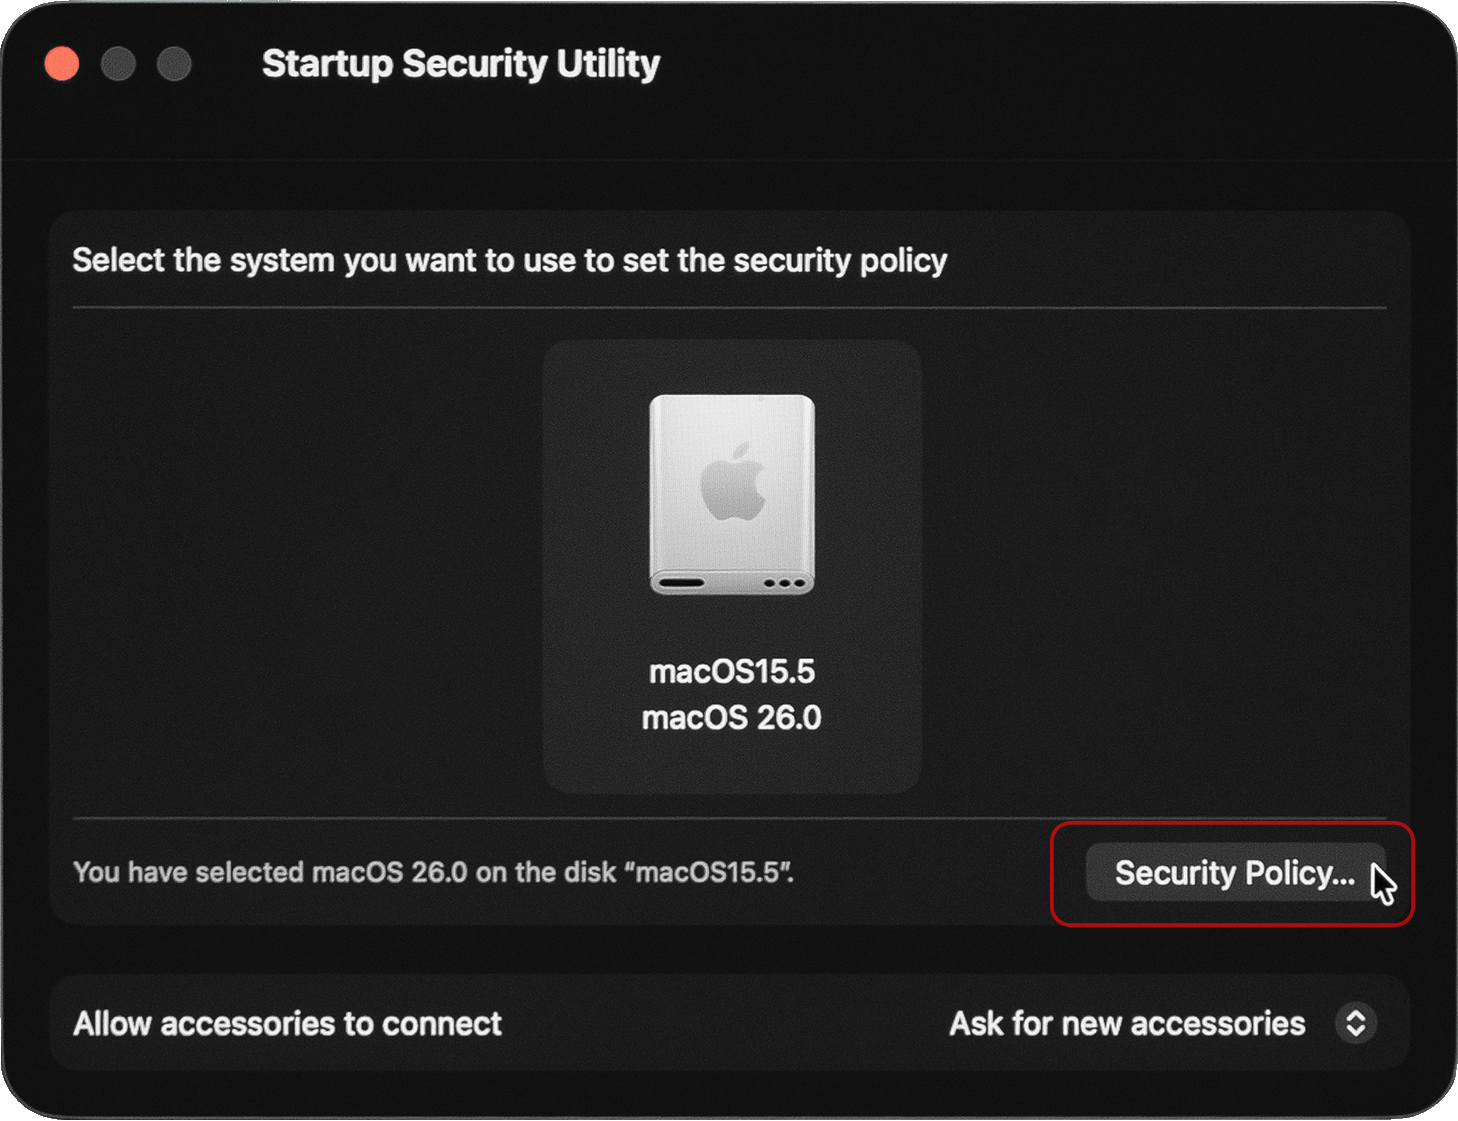
Select the macOS disk and then the “Security Policy” button.
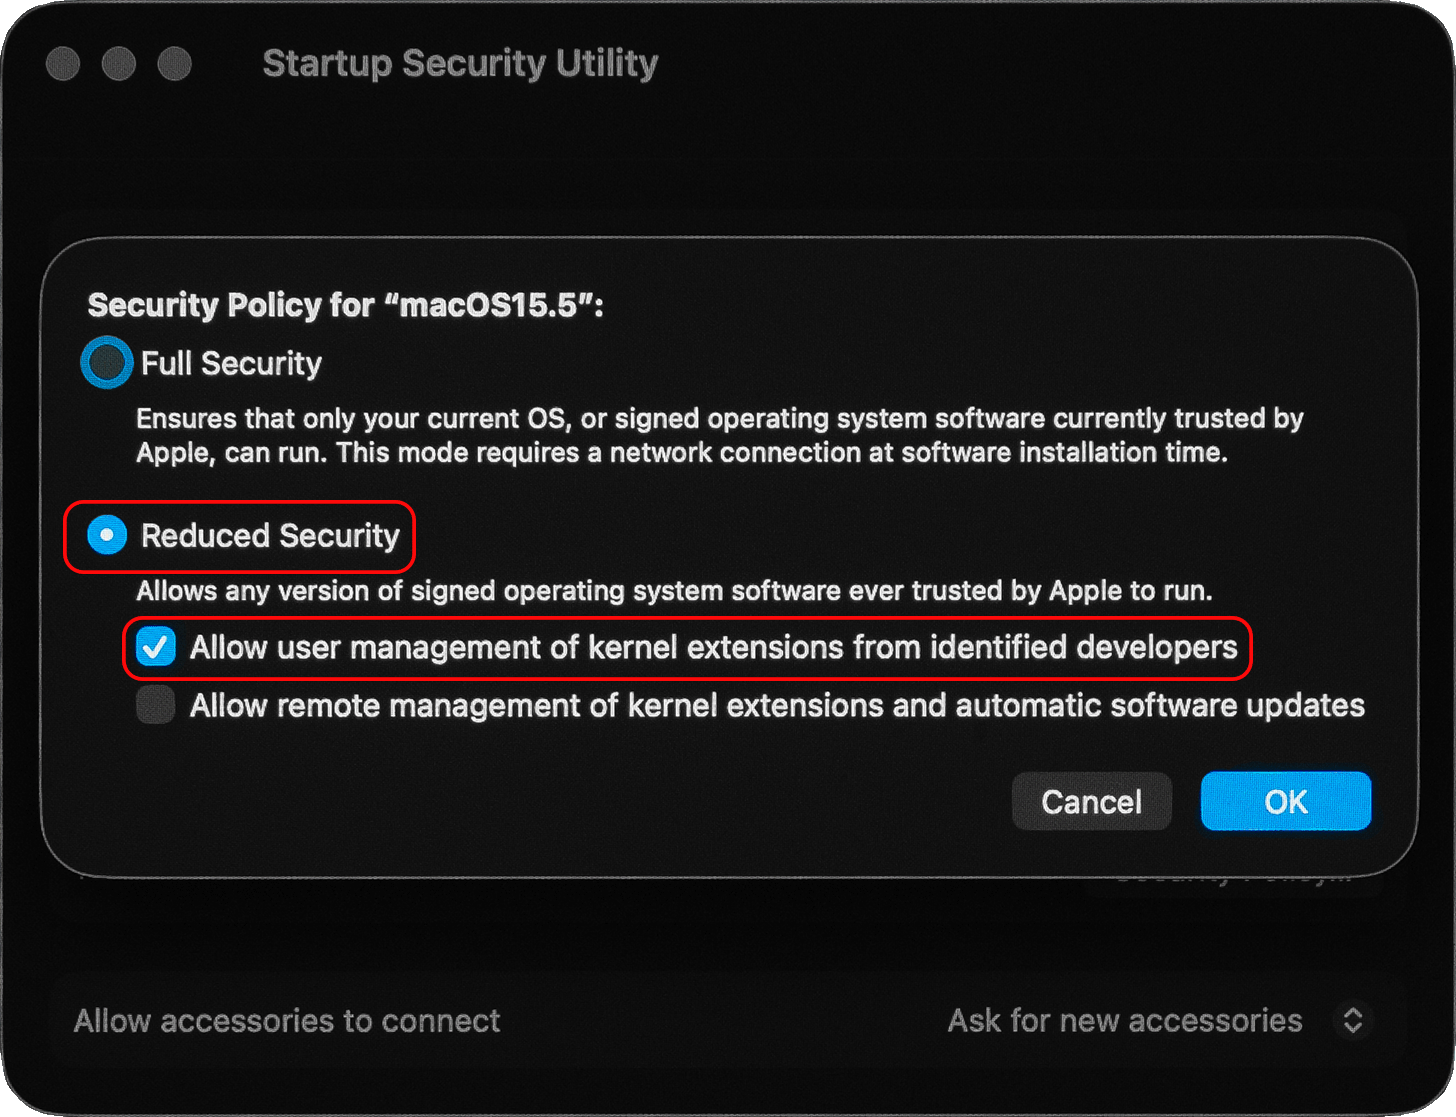
From here, select “Reduced Security” and “Allow user management of kernel extension from identified developers” and then click “OK”.
You should now be prompted to enter your computer’s administrator username and password to verify. Please do this, and then press “OK”. The changes will take a few moments to apply. Once complete, press the Apple Menu in the top left corner, and then “Restart”. At this point, your computer can now accept some third-party drivers, including the CalDigit SuperDriver Driver.
Step 2 – Preparation and Installation
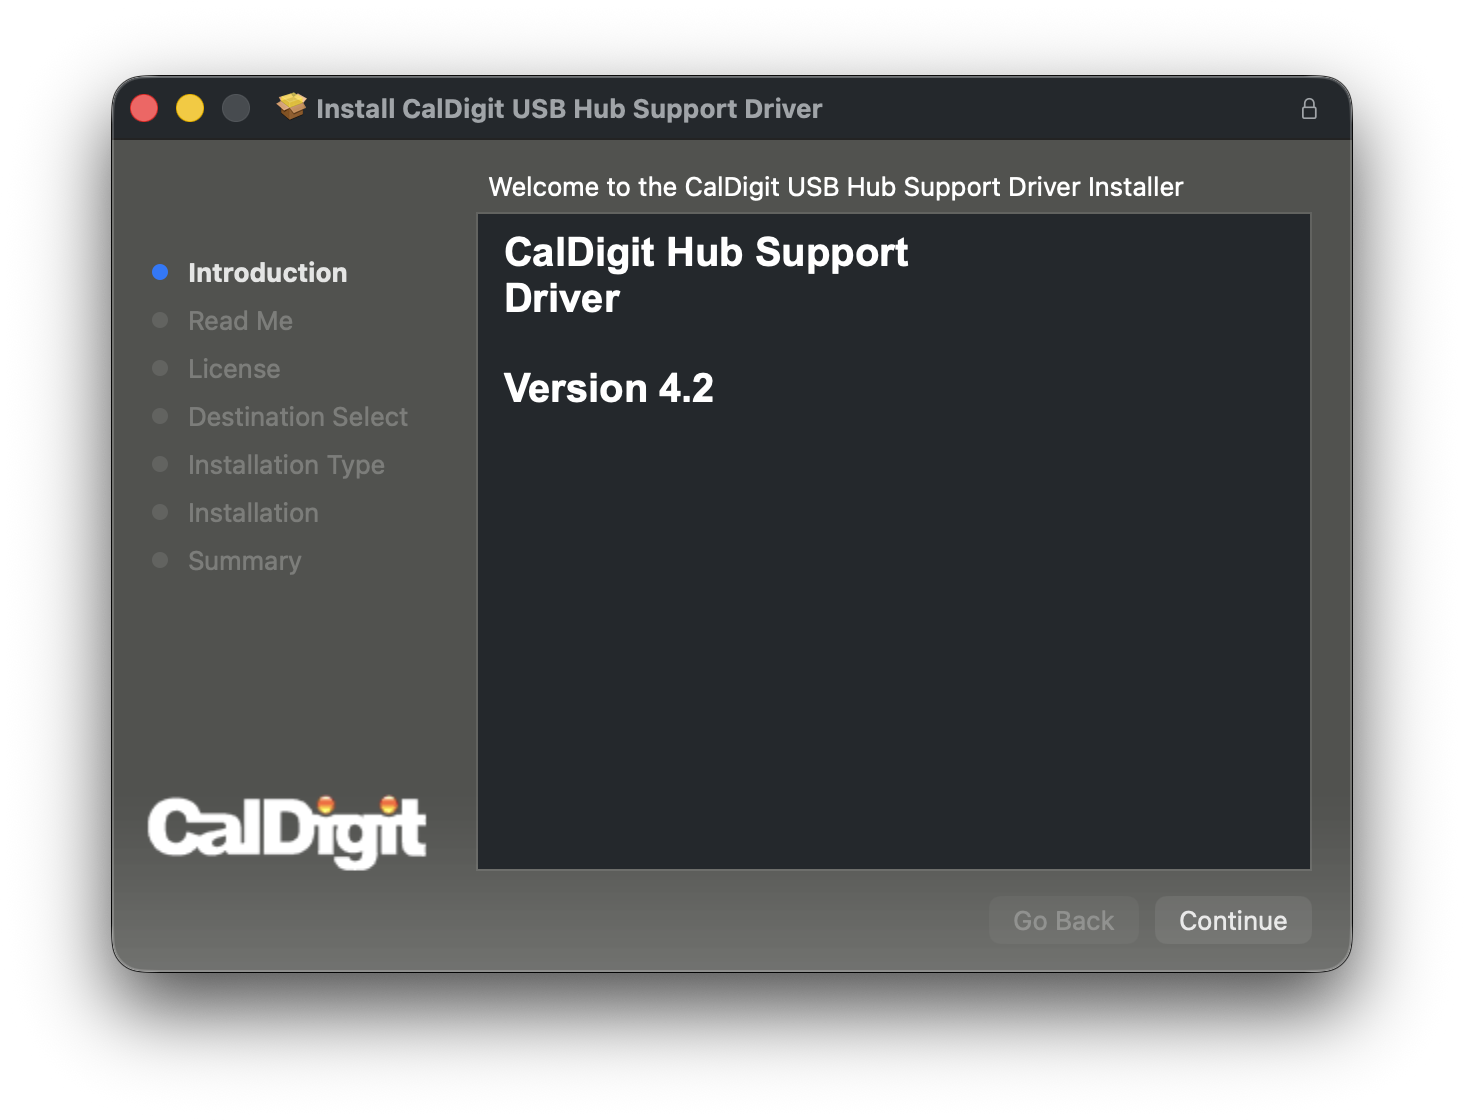
Begin by turning your computer back on and log in if you haven’t already done so. Download the CalDigit driver for your dock from https://downloads.caldigit.com, unzip it, launch and click through the installer.
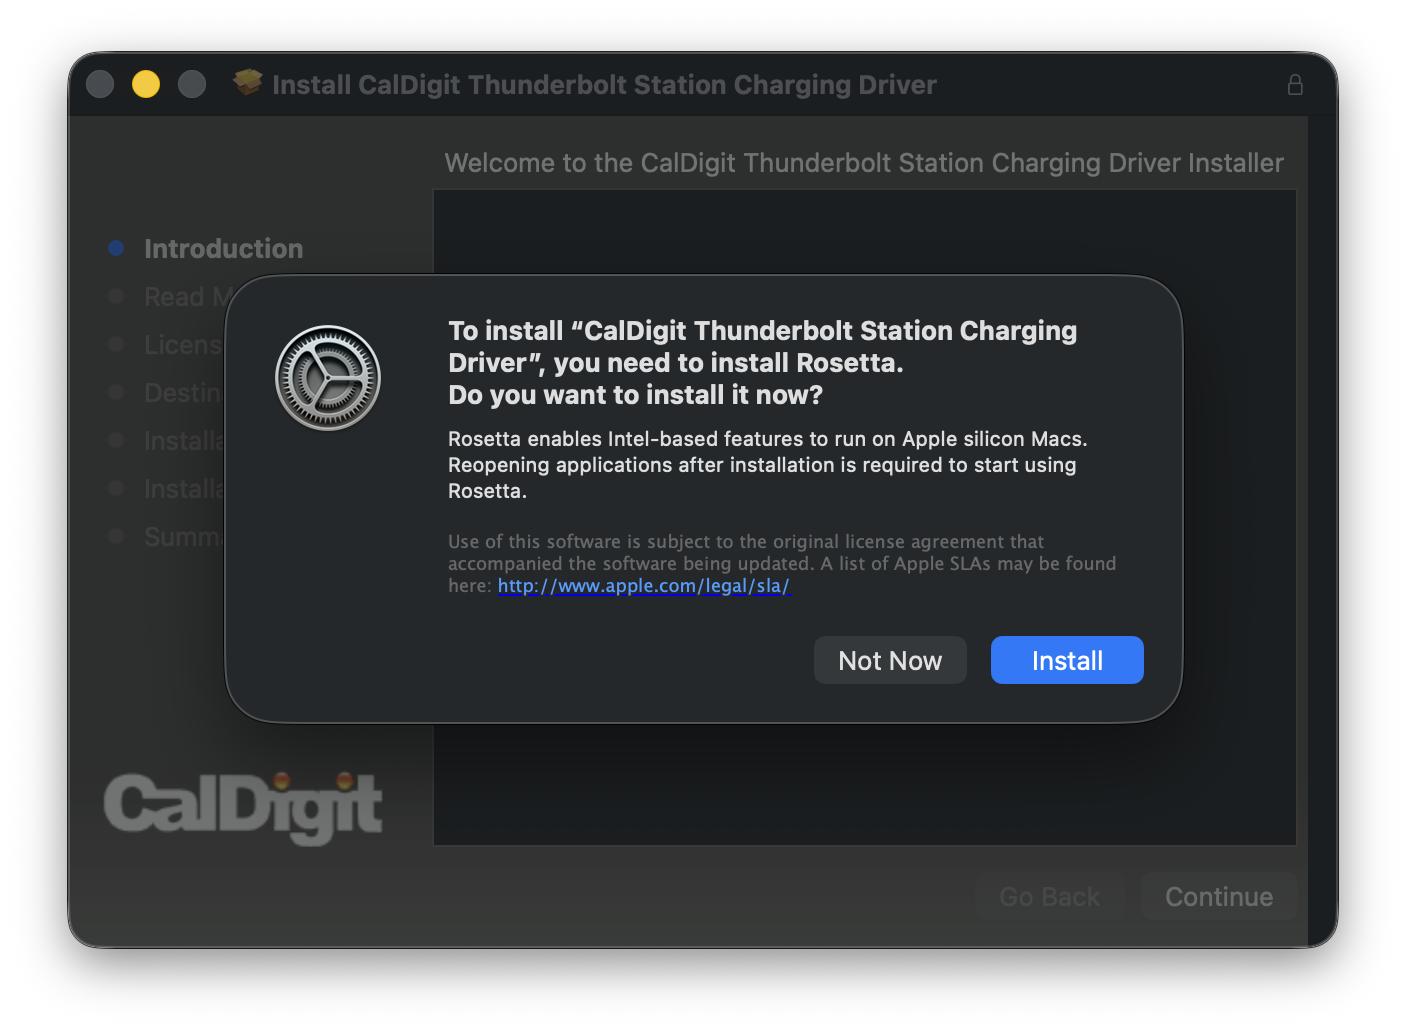
If you are installing the drivers for a Thunderbolt 3 CalDigit dock or earlier and using an Apple Silicon Mac, you may be prompted to install Rosetta. If so, press “Install” and allow the installation to complete before continuing the driver installation.
Step 3 – Security Settings
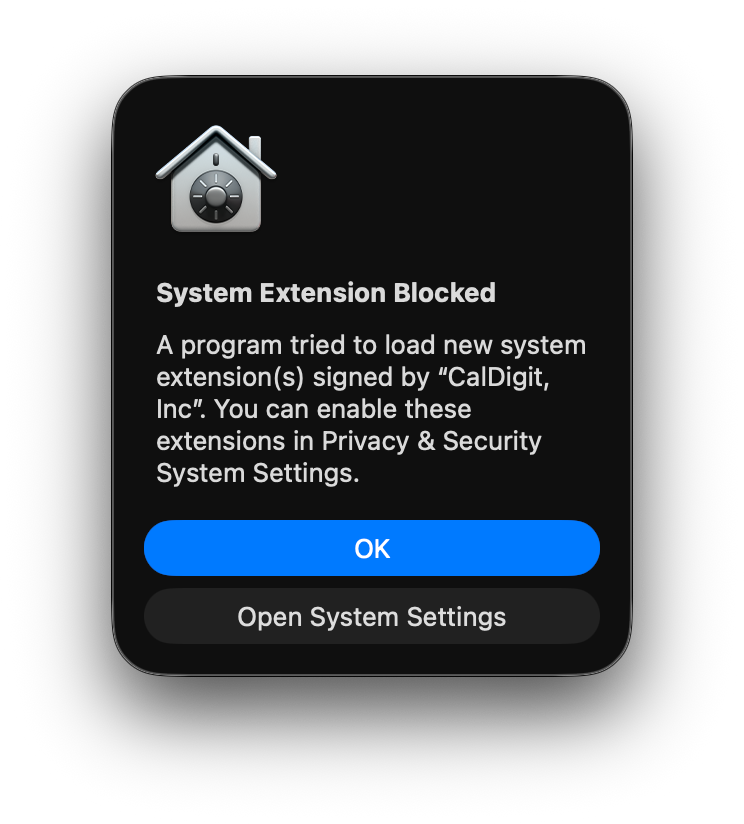
When installation is complete, you may be prompted with a “System Extension Blocked” pop-up, notifying you that the driver is being blocked by macOS. If this happens, press “Open System Settings”.
If this pop-up does not appear, or is accidentally closed, navigate to “System Settings” from the Apple Menu in the top-left corner of the screen, and then “Privacy & Security”.
From the bottom of this window, scroll down to the “Security” section. Find the option “Allow applications from”, and ensure “App Store & Known Developers” is selected. After this, find the notification of the “CalDigit” software being blocked and press “Allow”. You may be prompted for your password during this process.
With all of this done, installation is complete and the driver installed. To activate the driver, reboot your computer and power cycle your CalDigit device. You can power cycle your dock or hub by disconnecting it from wall power for 30-45 seconds before plugging the power plug back in.
At this point, the driver should now be working properly.
Still Not Working?
If your superdrive still isn’t working at this point, there is more diagnosis and troubleshooting we can do.
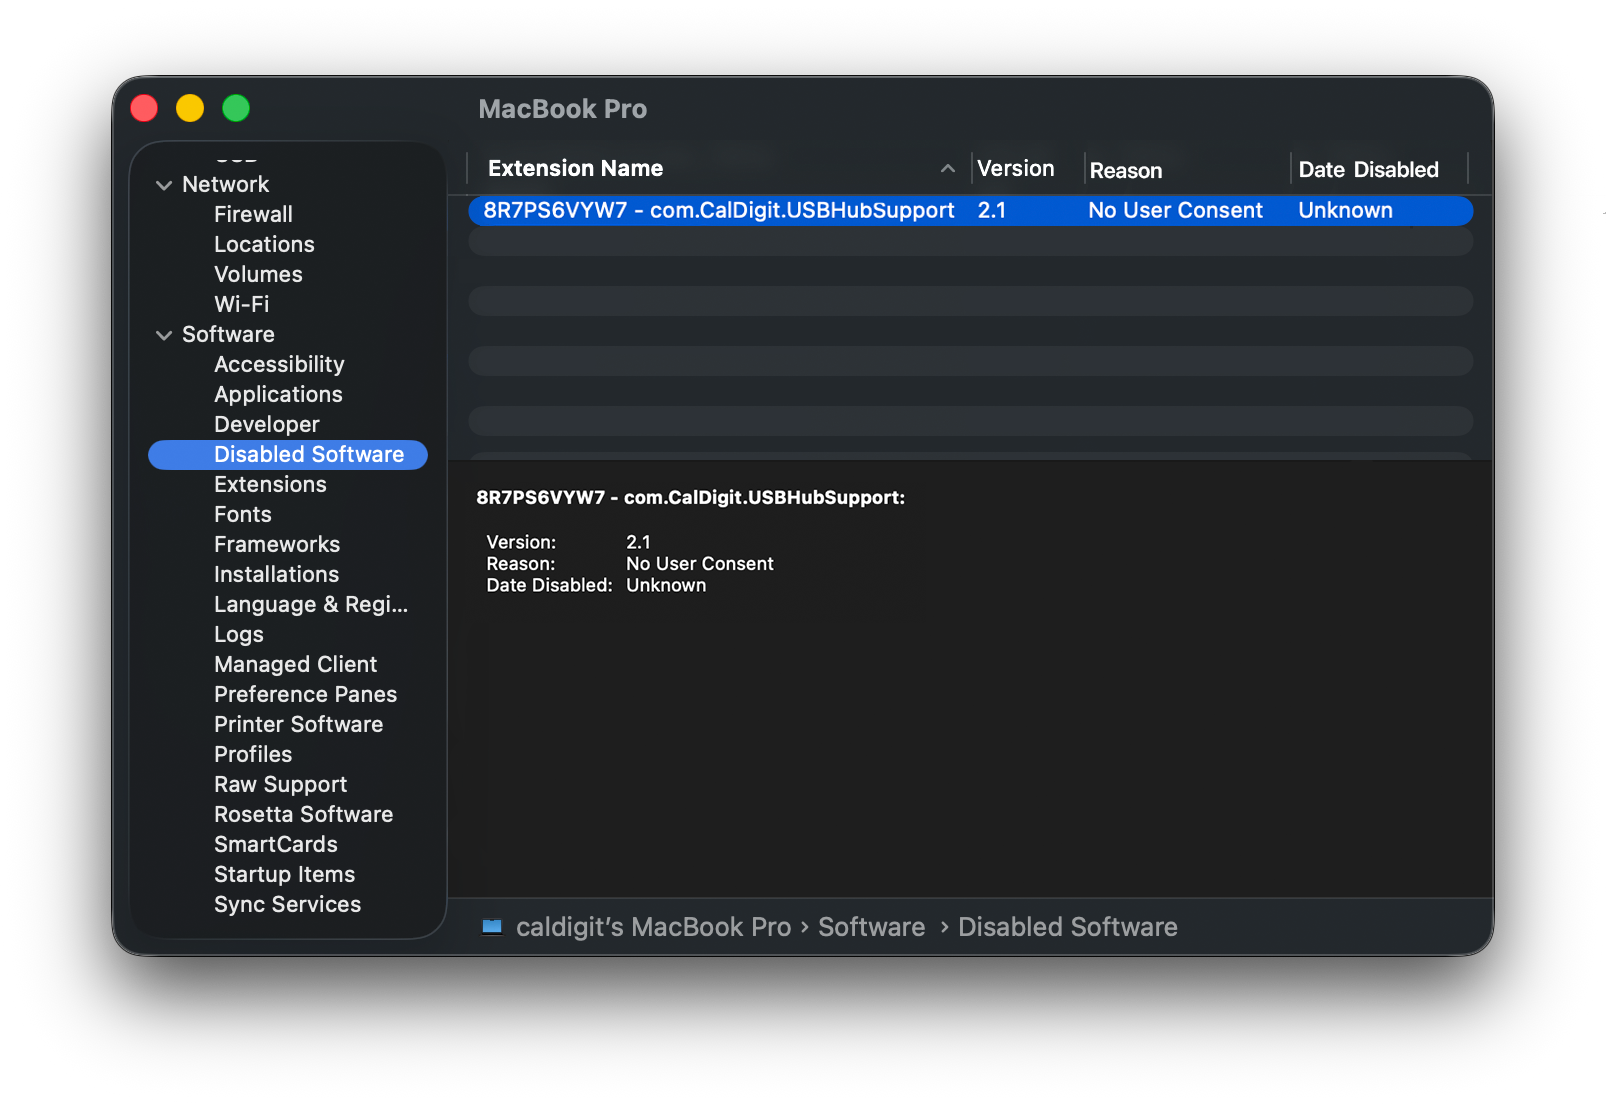
First, let’s check if the driver is disabled. To do this, navigate to the Apple Menu at the top-left of the screen, then “About this Mac”, “More Info”, then, scroll down and press “System Report”. From here, under the “Software” tab, select “Disabled Software”.
If a CalDigit driver is present here, the driver has installed but is currently disabled. In this case, we recommend you follow through Step 3 of this guide once more. Beyond that, please contact our support team for further assistance.
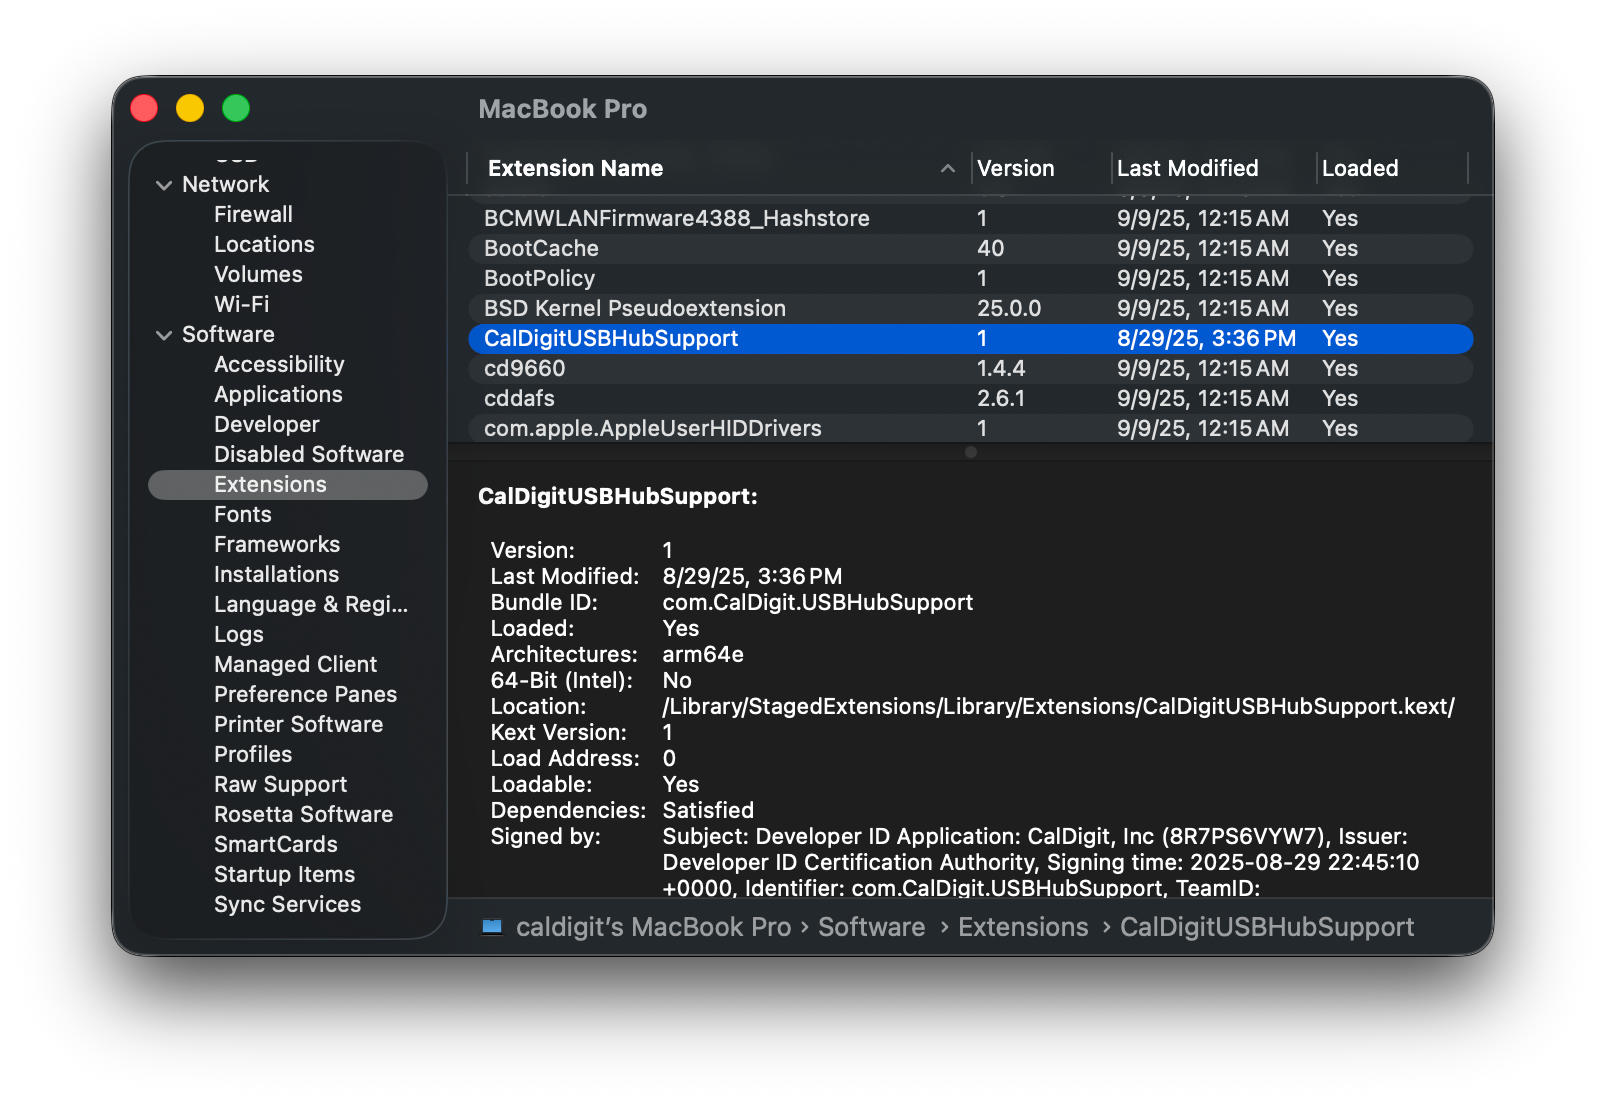
If no driver is present here, let’s check if the driver is properly loaded. From within System Report, select “Extensions” from within the “Software” tab. Find the CalDigit software present here – for the newer version of the driver, it should show up as “CalDigitUSBHubSupport”. Specifically, we want to see if the software is loaded, indicated by the “Loaded” tab on the right of the screen.
If the driver shows up here and the “Loaded” tab says “No”, then the driver has failed to properly install for some reason. In this case, try following this guide closely once more. If it still fails to work, our support team can assist further.
If the driver does not work even after following this guide, please contact our support team for further diagnosis and troubleshooting. The team can best be reached via email at Support@CalDigit.com.
CalDigit Support is ready to assist you. For an optimal experience please have your product name, serial number, and operating system on hand prior to contacting support
For an optimal experience please have your product name, serial number, and operating system on hand prior to contacting support.
This website uses cookies to improve your user experience. By continuing to browse this website, you are agreeing to our use of cookies. We encourage you to review our Privacy Policy.