The following steps shows you how to use Apple’s Disk Utility to rebuild CalDigit T3 or T4 RAID 1 (mirror RAID) if one drive fails and causes the RAID 1 array degraded.
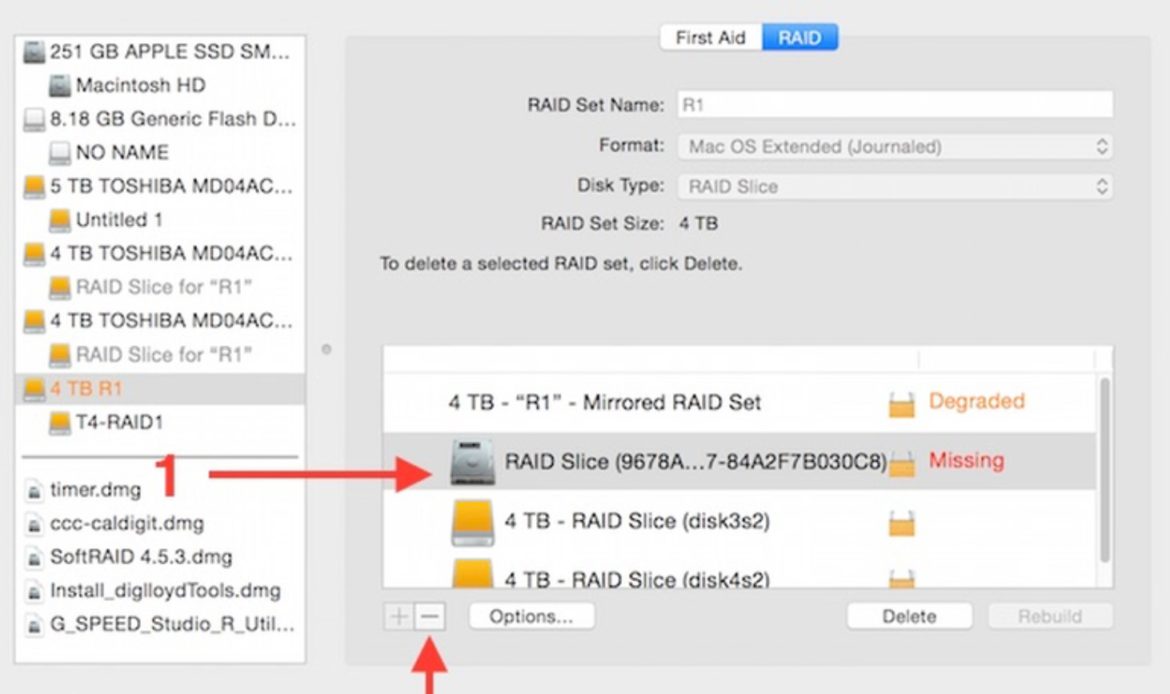
1. Launch Disk Utility, go to the degraded RAID array, and select the drive that is missing from the RAID 1 array.
2. Click the “Minus” button.
3. Click on the “Demote” button to demote the missing RAID disk from the array.
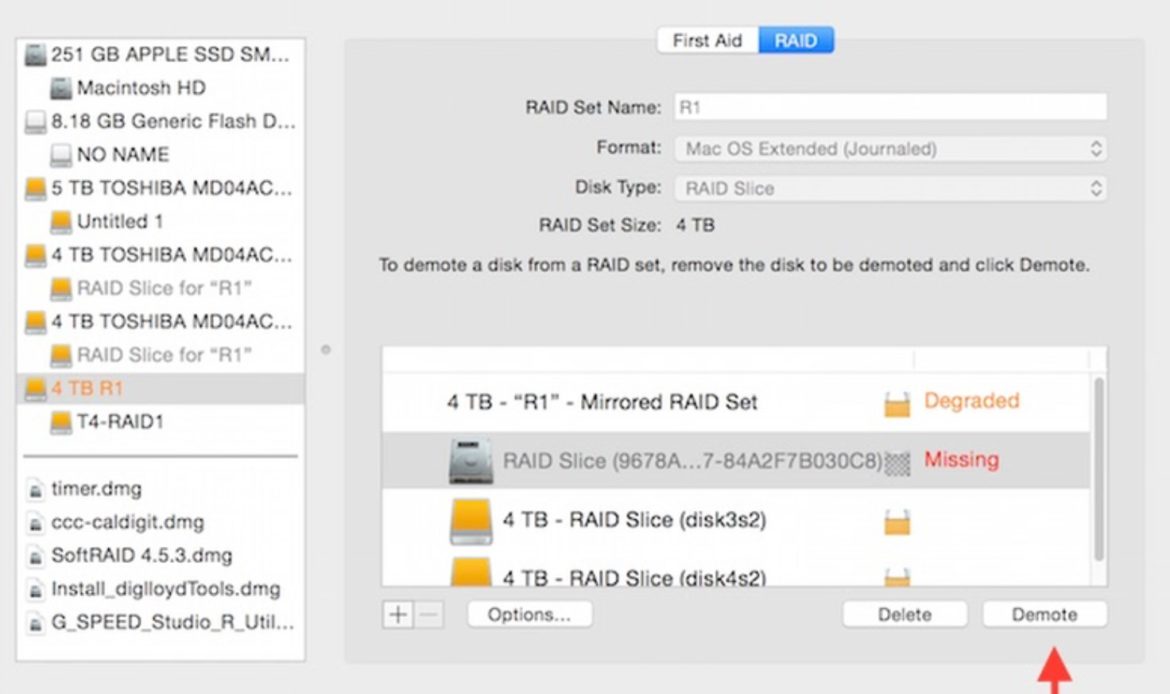
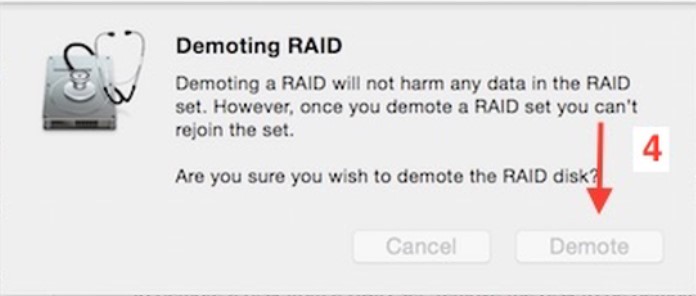
4. Click on “Demote” button from the popup window.
5. Physically remove the bad RAID disk from CalDigit T3 or T4 chassis. 6. Insert the new drive module that you obtained from CalDigit to T3 or T4 drive slot.
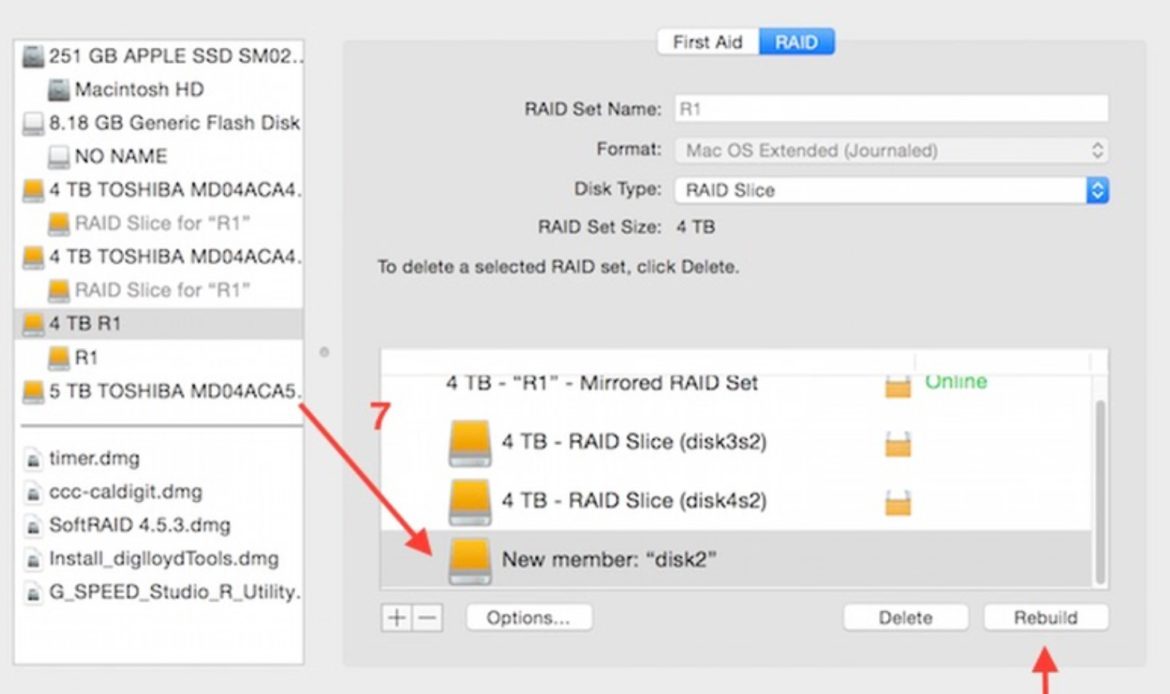
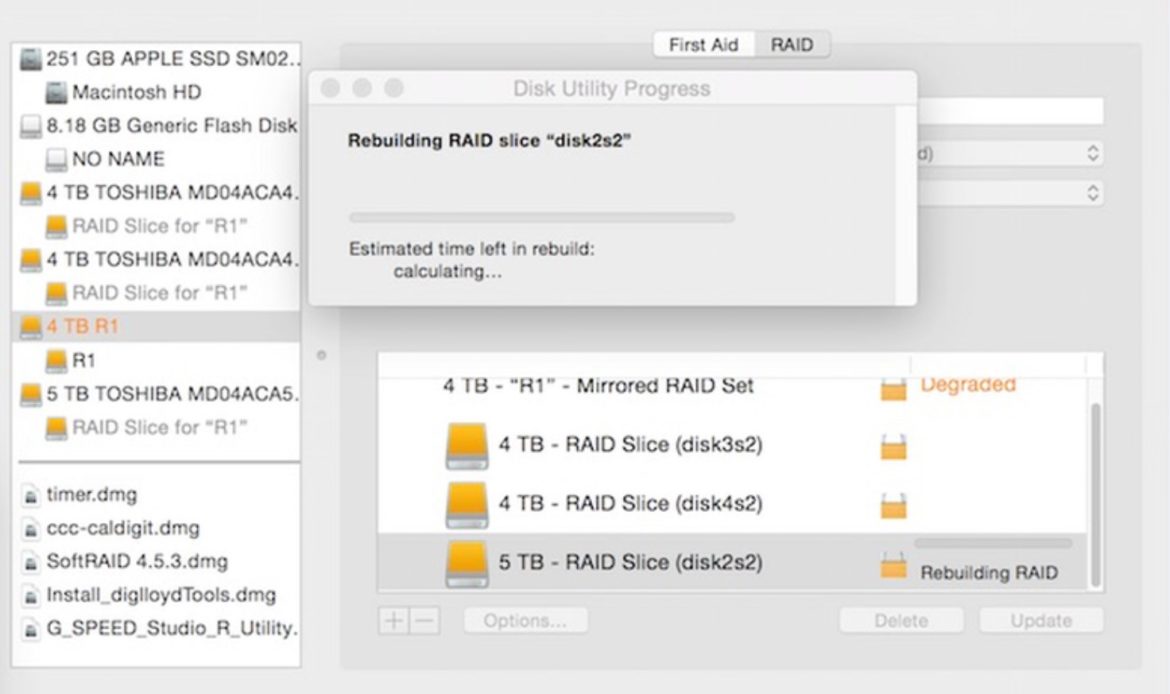
7. In Disk Utility, you will see a brand new disk in the list, drag and add it to the degraded RAID array. 8. Click on “Rebuild” button to trigger the RAID rebuilding. It may take several hours to rebuild the entire RAID array depends on the drive capacity.